Item Entry
You can enter items by manually entering line items or by scanning.
Manual item entry
- Use the numeric keypad to manually enter the item number or GTIN.
- Confirm by pressing Item.
If the entry is correct, the corresponding item will be listed in the receipt preview. Otherwise, a message appears indicating that the entered item number was not found.
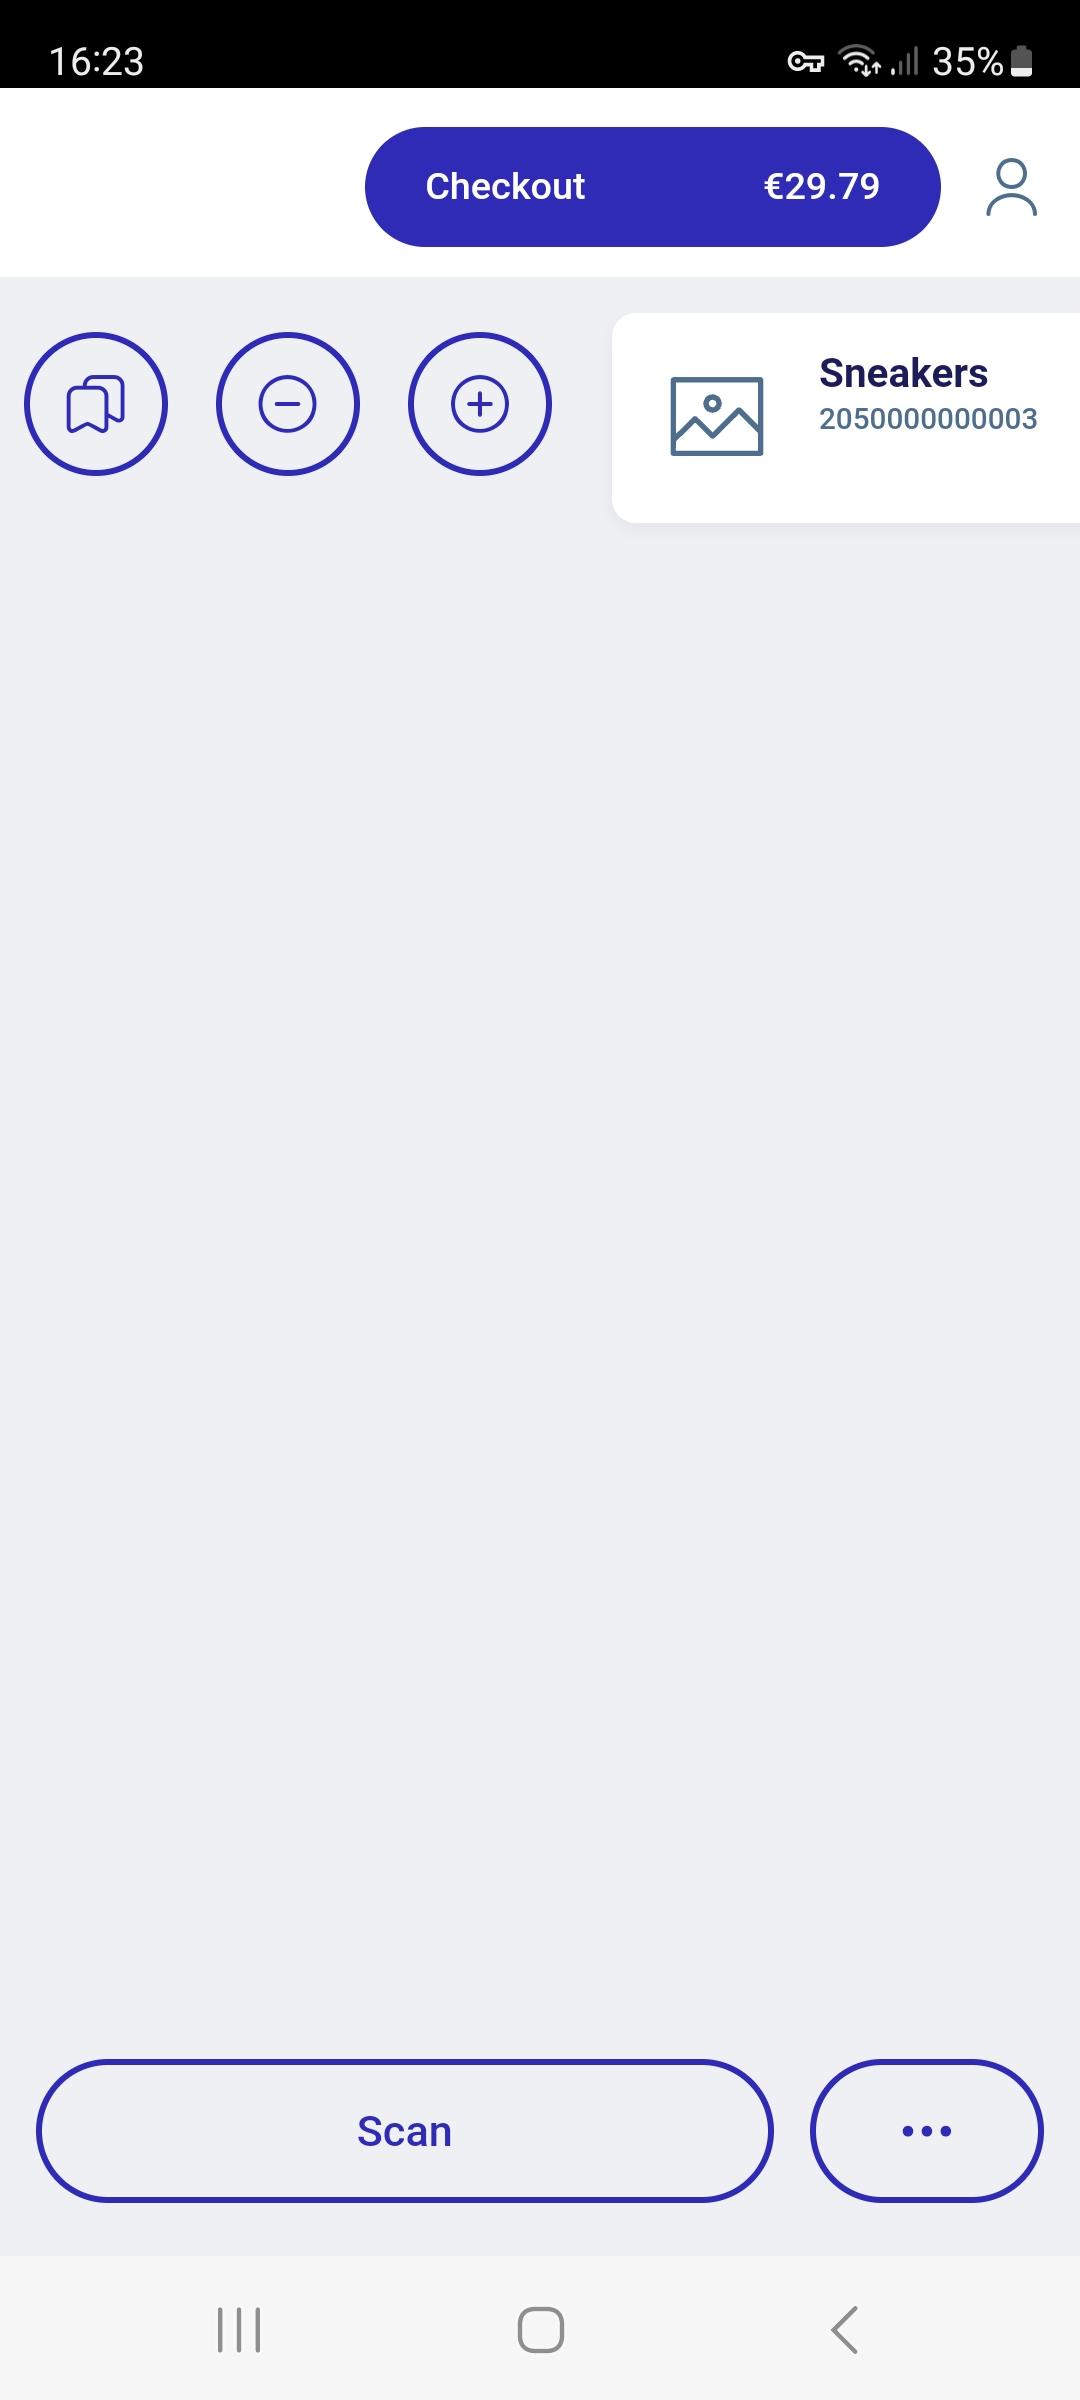
Scanning items by barcode
- Enter the item barcode using the barcode scanner
If scanning is successful, the corresponding item will be listed in the receipt preview. Otherwise, an error message appears.
Scanning items by RFID reader
Not Supported: ![]()
![]()
- Place the items within the RFID reader area and press RFID Bulk Item Registration.
Tags are read and synchronized with the items already scanned.
New items are added to the receipt automatically and are listed in the preview. Any errors during synchronization are listed at the end of the scan process as information for the operator.
- The scanned RFID items are marked as "RFID Article" in the Transaction Preview.

If an RFID reader is not available (e.g. during registration with MPOS), the items can be registered via the 2D barcode (EPC).
Item Entry via PLU
A PLU number can be assigned to each item.
- Use the numeric keypad to enter the PLU number in the input field.
- Confirm by pressing Item.
The item will be entered.
Item Entry via Dynamic Item Tableaus
Dynamic tableaus display an item image, a PLU number, the item price and an item text in a grid layout.
Further configuration options are available, (e.g. switching from grid size 6x3 to grid size 8x4).

- Tap the item to select it.

- Tap the search input field to search for an item. An on-screen keyboard pops up.
- Enter the first letters of the item name. Matching items are displayed.
- Tap the item button to select the item.
Entering weight items
Not Supported: ![]()
![]()
![]()
- To do so, enter the weight item.
You will be prompted to weigh the item.
- Place the item on the scale plate.
The weight is determined and the item entered.
Package Selection
- Press the corresponding button and enter the desired item.
A list of the available packages is displayed to you
- Confirm your selection with OK.
Quantity Entry
Each line item contains a quantity. Due to the characteristics of certain items (bulk items, dimensional and weight items), it may be necessary to enter values related to dimensions or weight in addition to the quantity.
You are prompted to do so directly after entering the item number or GTIN. Each line item takes the quantity "1" by default.
A different quantity can be allocated to the line item. This is possible by manually entering the quantity, dimensions or weight, or a combination of these.
If the quantity to be entered is >1, proceed as described below.

Option 1
In the receipt preview, use the button plus (+) and minus (-) to enter the desired quantity.
Option 2
- Enter the quantity in the corresponding field using the numeric keypad.
- Press Quantity.
- Enter the item. The complete line item appears in the receipt preview.
Option 3
- Select a line item already entered in the receipt preview.
- Enter the quantity in the corresponding field using the numeric keypad.
- Press Quantity. The line item is changed accordingly in the receipt preview.
Option 4 (changing the last entered receipt line item)
- Repeat the last entered receipt line item by pressing the button Quantity.
- If the quantity is already > 1, change the quantity of the last entered receipt line item by pressing the button Quantity. You are prompted to enter a quantity. The last receipt line item will be repeated with the quantity entered.