
 Creating an iView

Use
Once you have accessed Storyboard, you create a model and build your iView.
You have created a model as described in Creating a Model.
You have opened the Design board of the model on your workspace.
Procedure
1.
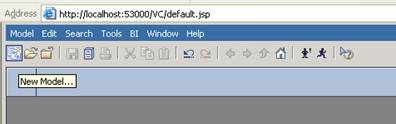
In the main
toolbar, click the New Model… ( )
button.
)
button.
2. In the Create a New Model dialog box that is displayed, enter a name for the new model, for example GP_integration.
3. Click OK to continue. You can now see the design board of the model and all tools necessary for editing.


Throughout this tutorial, remember to save your work periodically by clicking the Save button in the main toolbar.
4. From the task panel toolbar, click Compose to display the Compose Model task panel.

5. Drag the iView element from the list onto the workspace and enter a name for it, for example GP iView.
6. Double-click the newly-created iView to open it. You can now add elements to the view.
The Compose Model panel shows all components, connectors and operators that an iView can contain.
7. From the Compose Model panel, drag a Start connector element onto the workspace.
8. Following the same procedure, drag a Form view onto the workspace and change its name to GP form.

Result
You have created an iView and added two of its elements. To define input parameters and display them as fields in the GP form, see Defining Input Parameters and Form Elements.