Creating Your Test Script
In this section, you will create an empty test script and assign to it the system data container that you created earlier. You will then execute the test script.
-
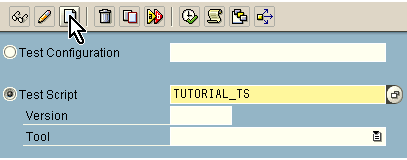
On the eCATT initial screen, select the Test Script radio button and enter a name for your new test script in the field beside it. Here, we will name it TUTORIAL_TS. Leave the remaining fields empty.
-
Choose the Create Object icon, as shown above, to open the editor for the test script.
-
On the Attributes tab, enter the following information:
Field
Entry
Title
Testing Transaction EC_TUTORIAL_SAPGUI
Component
BC-TWB-TST-ECA
System Data Container
TUTORIAL_SDC

-
Leave the Target System field empty. We will not use this field in this tutorial.
-
Save your test script.
You are now able to execute the test script. Of course, since you have not recorded any transactions or entered any script commands, you cannot expect to see much happening. However, it is worth doing to see a successful execution before the script becomes more complicated.
-
Choose
 .
.The Start Options are displayed.
-
Accept the defaults but make sure that Log Display has been selected.
-
Choose
to execute the test script. The log will then be displayed and should look something like the following: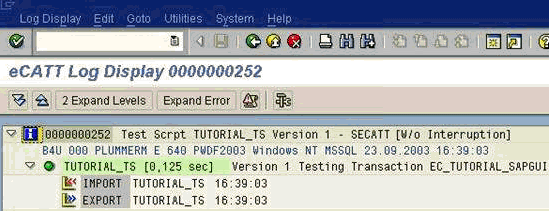
The green icon beside the test script name indicates that the entire test script has been executed without error.
-
Go back to the test script editor.
You have a test script that you can edit to perform useful testing. The test script was executed in the local system, so the system data container, though present, was not actually used. However, it the next part of the tutorial, you will record a transaction that is in a remote system. For that, the system data container will be necessary.