
 Integrating Web Dynpro Applications into the
Portal
Integrating Web Dynpro Applications into the
Portal 
Firstly, in the SAP Enterprise Portal, define a system on which the Web Dynpro application is to run and provide the following information:
● Template, SAP system with Load Balancing
● System name, for example MyOBNSystem
● System ID, such as MyOBNSystem
● System ID prefix, such as com.sap
To do so, proceed as follows:
1. Give the system a system alias, such as MyOBNSystem.
2. Define the properties of the Web Application Server.
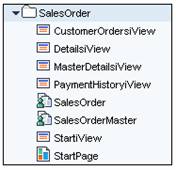
3. In the Portal Content, create a folder – for example, SalesOrder.
4. For the five applications, create an iView based on Web Dynpro. Give the iViews the following names:
a. Application SalesOrder – for example, StartiView
b. Application Customer_Details – for example, DetailsiView
c. Application Customer_MasterDetails – for example, MasterDetailsiView
d. Application Customer_Orders – for example, CustomerOrdersiView
e. Application Payment_History – for example, PaymentHistoryiView
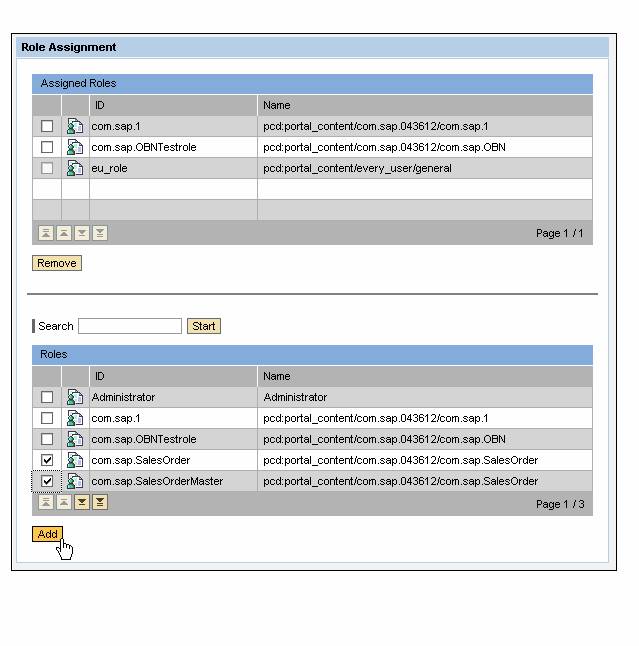
5. Create two roles in the folder:
a. SalesOrder
b. SalesOrderMaster
Proceed to the User Administration section and assign these two roles to the user.
Result
You have not integrated the Web Dynpro applications into the portal, created the corresponding iViews, and define the roles.

For more information on the integration of Web Dynpro applications in SAP EP, refer to the tutorial Portal Integration of Web Dynpro Applications.
 Start now with importing a
business object.
Start now with importing a
business object.