Building, Deploying, and Running the
Project
Building, Deploying, and Running the
Project 
Now that you have reached this stage, you can start the fully developed example application in the Web Browser as described below.
However, some preparations are essential before you can deploy and run the application successfully on the SAP J2EE Engine. Go through each of the following prerequisites carefully.
Prerequisites
- The external e-mail Web service used in the example application is available.
- You have made sure that the SAP J2EE Engine has been launched and that you are connected to an appropriate database instance of the SAP DB.
To do this, refer to Starting and Stopping the SAP J2EE Engine
· You have checked that the configuration settings for the J2EE server are entered correctly in the Developer Studio.
To check the server settings, choose the menu path Window ® Preferences ® SAP J2EE Engine.
Procedure
Building the Project
...
1.
Save the
current status of the metadata for the project using the button
 in the upper application toolbar of your
Developer Studio, if you have not already done so.
in the upper application toolbar of your
Developer Studio, if you have not already done so.
2.
Open the
context menu for the project node (WebDynpro_EmailWS) in the Web
Dynpro Explorer and choose  Rebuild Project. Make sure that the Tasks view does not display any errors for
your project. You can ignore any warning messages for labelFor properties that have not been set.
Rebuild Project. Make sure that the Tasks view does not display any errors for
your project. You can ignore any warning messages for labelFor properties that have not been set.
Deploying and Launching the Application
...
1.
In the Web Dynpro Explorer, open the context menu for the application object
 EmailWSApp.
2. Choose Deploy new archive and run.
Result
The Developer Studio performs the deployment process in one single step, based on an automatically generated Enterprise Archive File, and then automatically launches your application in the Web Browser.
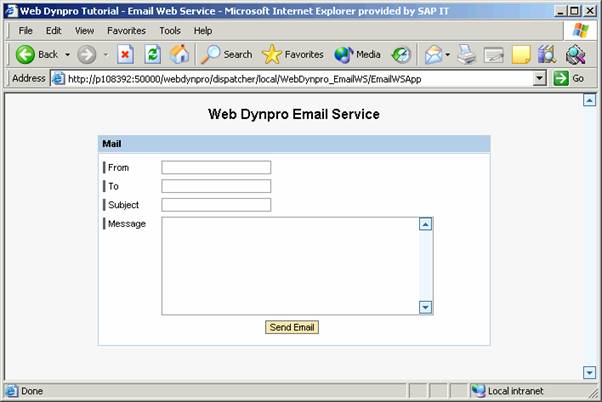
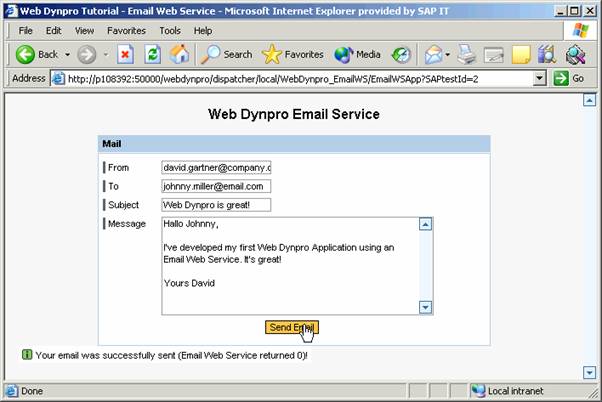
Test your new Web Dynpro application by entering your own e-mail data in the input fields From, To, Subject, and Message, and then click on Send.
After you have triggered a server roundtrip (here you communicate with the Email Web service), a success message is displayed on the user interface in the Web Browser if no errors have occurred during sending. The result value returned by the e-mail Web service is also displayed in the message text.