 Storing Images for Transaction Variants
 Storing Images for Transaction Variants
The transaction variant image archive allows you to manage images centrally in the SAP System. These images can automatically be downloaded to a user's PC and displayed on an SAP screen whenever needed.
 GuiXT scripts (which are also stored on the frontend) are responsible for calling and displaying these images.
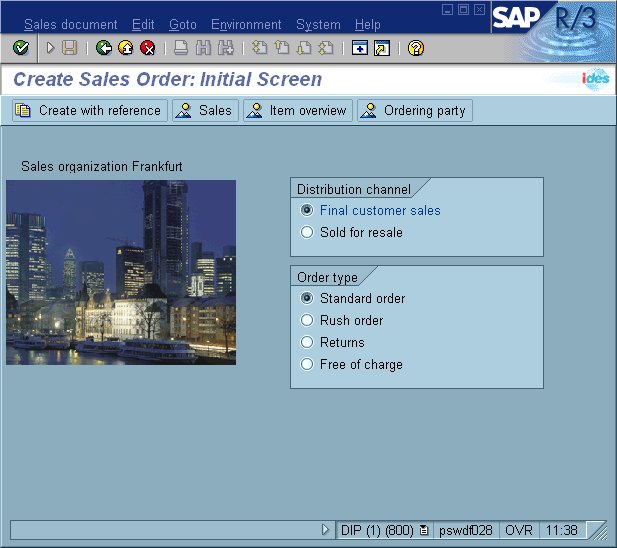
Transaction SHDI provides two ways of storing images:
SAP recommends that you store images using the Business Document Service. The Business Document Service does not only provide general document management functions but also a link to the Change and Transport Organizer.
The following file extensions are supported:
Business Document Service
To choose an image file from the Business Document Service and use it in a GuiXT script, proceed as follows.

If this directory contains image files already, choose Refresh display to update the data. The image files stored in the directory specified are then displayed in the lower part of the screen.
The name of the image and other attributes are displayed in the lower part of the screen.
The Lifetime is specified in days.

Your firm has changed its logo as of a specific date and you want the new logo to be displayed on SAP screens instead of the old one. You have restricted the validity of the old logo image to a specific number of days. When the validity of the old logo runs out, the new logo will automatically be downloaded to all PCs affected, if required, provided that you give the new logo the same file name as the old logo image file.
SAPIM:TA_VARIANTS_IMAGES//DEMO//Frankfurt.jpg
You can use the file name specified here in a GuiXT script of a transaction variant or a screen variant, as follows:
IMAGE (10,40) "SAPIM:TA_VARIANTS//DEMO//Frankfurt.jpg"
To transport an image file, choose Navigator. The system takes you to the Business Document Navigator. Choose the desired image, and then choose Transport documents. Further information can be found in the section on
BC - Business Document Service.
Database
Uploading Images from Your Local Computer to a Directory in the R/3 Database
In order to upload an image to the R/3 database, proceed as follows:
You may use the fields Validity and Date, located above the list, to determine the life of the picture in the system. Choose Activate (the match head icon) to insert the current date. Then choose Change in front of the input field for Validity. A dialog box appears where you can enter the new validity of your image in days.
Your firm has changed its logo as of a specific date and you want the new logo to be displayed on SAP screens instead of the old one. You can restrict the validity of the old logo image to the day that you want it to be supplanted exactly. When the validity of the old logo runs out, the new logo will automatically be downloaded to all PCs affected if you give the new logo the same file name as the old logo image file.
Downloading Images to Your Local Computer
If you want to make changes to an image stored in the image archive in R/3, you can download the image to your local PC. Be aware of the fact that downloads take place automatically whenever the image is called from a GuiXT script.
Proceed as follows:
The Image Archive transaction offers you additional features as well. These include Create folder, Delete image file etc. and can be called with the help of the context menu (right mouse button).