Lighting Modes
Use
You can use various lighting modes to apply preset light settings for the display of the scene’s lights, which imitate different kinds of real-world light sources such as the sun, office lamps, or stage and film lighting. Adding lights gives a more realistic appearance by enhancing the clarity and three-dimensionality of a scene.
A number of light settings can be applied either “from the file”, or by applying one of several lighting presets including colored lights, cube lights, and CAD optimized lights.
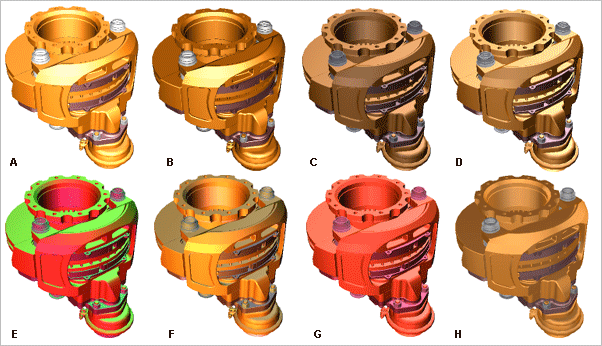
Below are some examples of the lighting modes.
When the Lights from File command is selected, any lights that are visible in the Scene tree are activated and their effects seen in the viewports. This includes any lights loaded from the file, as well as any lights that have since been added to the scene using the Create Editable Lights function. If there are no lights in the Scene tree, then the current preset lighting mode is used. For example, Day Light or CAD Optimized Lights.
Note that as there is always one preset lighting mode selected, selecting the Lights from File command does not clear that preset mode. However, selecting a new preset mode does clear the Lights from File command, so that the effect of the mode can be seen immediately.
Activities
Applying a Lighting Mode
Choose  Display
  Lights
 in the Navigation toolbar, and then select the preset mode you want to apply.
Applying the Lights from File Mode
Choose Display Lights Lights from File in the Navigation toolbar.
Modifying the Scene’s Light Intensity
You can modify the scene’s light intensity in the following ways:
-
Click Increase Brightness to increase the light intensity
-
Click Decrease Brightness to decrease the light intensity
-
Click Restore Brightness to restore the original light intensity