Setting Up OAuth Profile and OAuth Configuration
-
Creating OAuth2.0 Client Profile
-
Login in to the S/4 On-Premise backend system - test client (S/4 HANA Release 2023).
-
Start the Object Navigator- transaction SE80.
-
Choose the Development Object in the dropdown list.
-
To create a development object, choose
 Create
  More OAuth 2.0 Client Profile
 in the context menu of the object name.
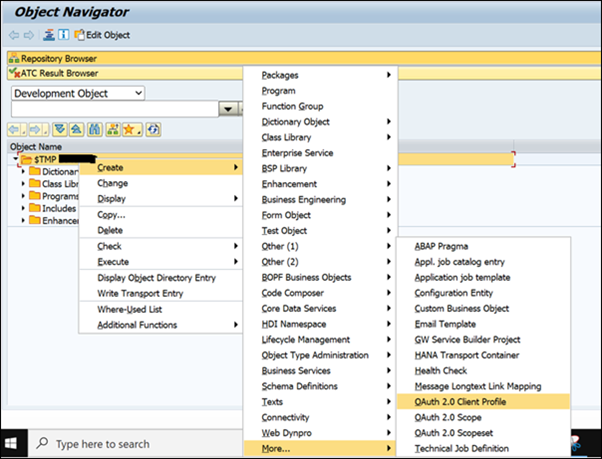
-
Enter the object name in the Client Profile field of the popup as <your_oauth_profile_name>.
-
Choose the type of service provider as DEFAULT.

-
-
Configure the OAuth2.0 Client
-
Go to transaction OA2C_CONFIG to configure OAuth2.0.
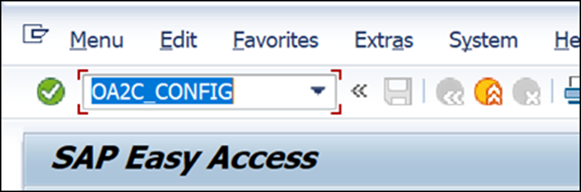
-
Click on Create.

-
Select the OAuth2.0 Client Profile from the dropdown as created previously with <your_oauth_profile_name>.
Provide a custom configuration name in your namespace <your_oauth_configuration_name>, and
-
Under Authorization Server Settings, provide the Token Endpoints as:
Provide Authorization Endpoint by copying the URL from Finding Rest API Credentials step 6e and append the string/oauth/authorize to this URL. As the string https:// is already provided in the beginning, so it's not required to repeat it.
Provide Token Endpoint by copying the URL from Finding Rest API Credentials step 6e and append the string /oauth/token to this URL. As the string https:// is already provided in the beginning, so it's not required to repeat it.
-
Under Access Settings:
-
Enter the Client Authentication as Basic
-
Enter the Resource Access Authentication as Header Field
-
Select the Grant Type as Client Credentials.

-
-
Click on Save. The OAuth2.0 configuration name is <your_oauth_configuration_name>.
-


OAuth2.0 configuration is completed.